Lab 5-2: Configure IPv6 Routing
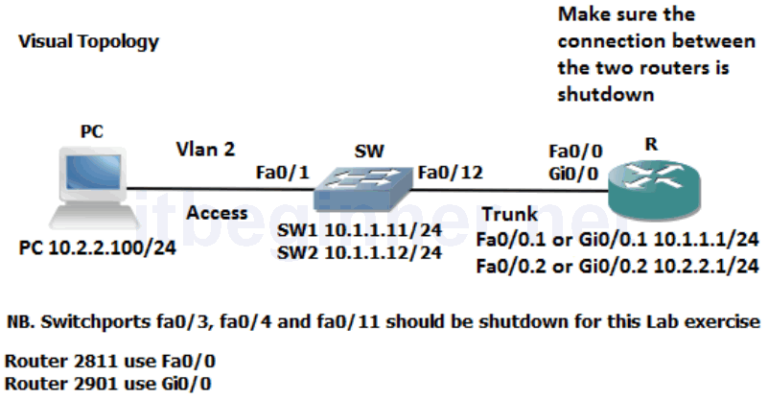
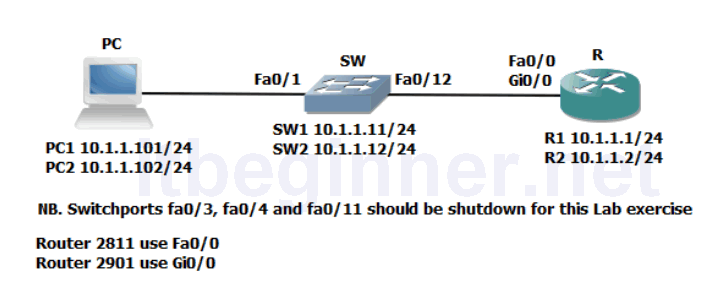
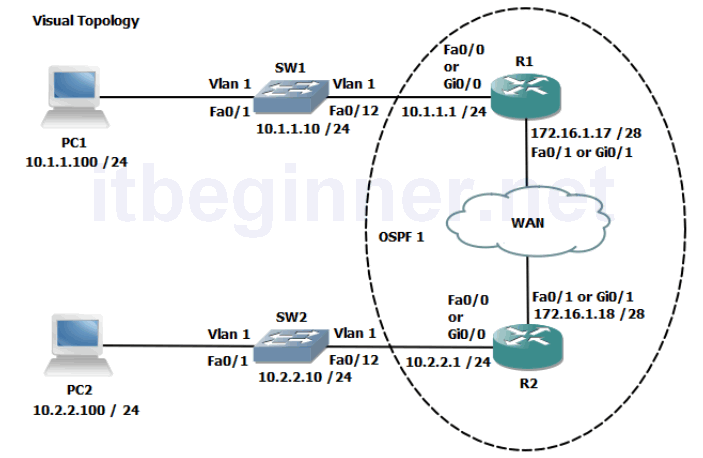
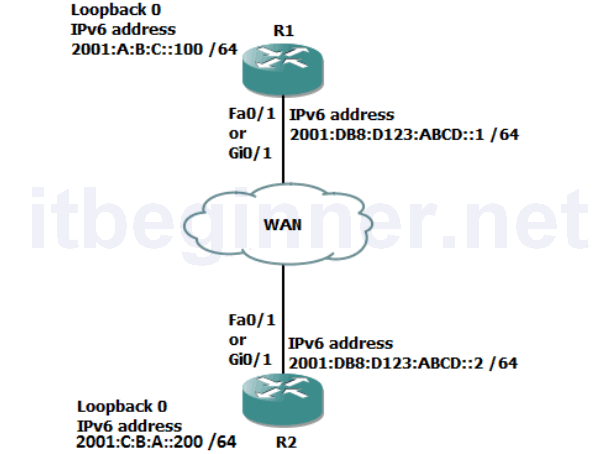
Visual Topology
Command Line
| Command | Description |
|---|---|
| ipv6 ospf process id area id | Enables OSPFv3 on the interface |
| ipv6 router ospf process id | Enters OSPFv3 router configuration mode |
| Ping address | Checks end to end connectivity |
| router-id 32bit id | Assigns a 32 bit router-id in a dotted decimal format, example (1.1.1.1) |
| show ipv6 ospf | Displays OSPFv3 settings |
| show ipv6 ospf neighbor | Displays the contents of the OSPF adjacency table |
| show ipv6 route | Display the contents of the IPv6 routing table. |
Task 1: Enable OSPFv3.
Step 1: Access the CLI of the router and check that you still have the IPv6 addresses configured on your router, if not, rectify.
Step 2: Ping the IPv6 address of the other routers fa0/1 or gi0/1 interface. If you have correctly configured both end of the directly connected link, then this should be successful.
Step 3: Ping the IPv6 address located on the other router, this should fail because it is not directly connected and just like in IPv4 no dynamic routing protocols are enabled by default to advertise it out.
Step 4: Enter OSPFv3 configuration mode and assign the following router ID’s
R1 only.....
Router ID 1.1.1.1
R2 only.....
Router ID 2.2.2.2
Do you need to configure unique router ID’s ?
Step 5: Enter the configuration mode for the interface directly connecting the two routers together, fa0/1 or gi0/1.
Step 6: Enable OSPFv3 on the interface and check you have an OSPF adjacency.
Step 7: Try pinging the loopback IPv6 address of the other router
Why would it fail?
Step 8: Enable OSPFv3 on the loopback interface and ask the other student to try and ping it, because you are now advertising it via OSPFv3 this should work.
Lab Answer Keys:
[sociallocker id=”4139″]
Task 1: Enable OSPFv3.
Step 1: Access the CLI of the router and check that you still have the IPv6 addresses configured on your router, if not, rectify.
R>en
R#sh ipv6 int brief
Step 2: Ping the IPv6 address of the other routers fa0/1 or gi0/1 interface. If you have correctly configured both end of the directly connected link, then this should be successful.
Step 3: Ping the IPv6 address located on the other router, this should fail because it is not directly connected and just like in IPv4 no dynamic routing protocols are enabled by default to advertise it out.
Step 4: Enter OSPFv3 configuration mode and assign the following router ID’s
R1 only.....
R1#conf t
R1(config)#ipv6 router ospf 1
R1(config-router)#Router-ID 1.1.1.1

R2 only.....
R2#conf t
R2(config)#ipv6 router ospf 1
R2(config-router)#Router-ID 2.2.2.2
Do you need to configure unique router ID’s ?
Yes, each ospf router needs a unique router ID
Step 5: Enter the configuration mode for the interface directly connecting the two routers together, fa0/1 or gi0/1.
R(config-router)#int fa0/1
or
R(config-router)#int gi0/1
R(config-if)#
Step 6: Enable OSPFv3 on the interface and check you have an OSPF adjacency.
R(config-if)#ipv6 ospf 1 area 0
R(config-if)#exit
R#sh ipv6 ospf nei
Step 7: Try pinging the loopback IPv6 address of the other router
Why would it fail?
OSPF is not advertising the loopback interfaces
Step 8: Enable OSPFv3 on the loopback interface and ask the other student to try and ping it, because you are now advertising it via OSPFv3 this should work.
R#conf t
R(config)#int loop 0
R(config-if)# ipv6 ospf 1 area 0
[/sociallocker]